
How to Choose a Curler and Barrel Size for Each Hair Aesthetic
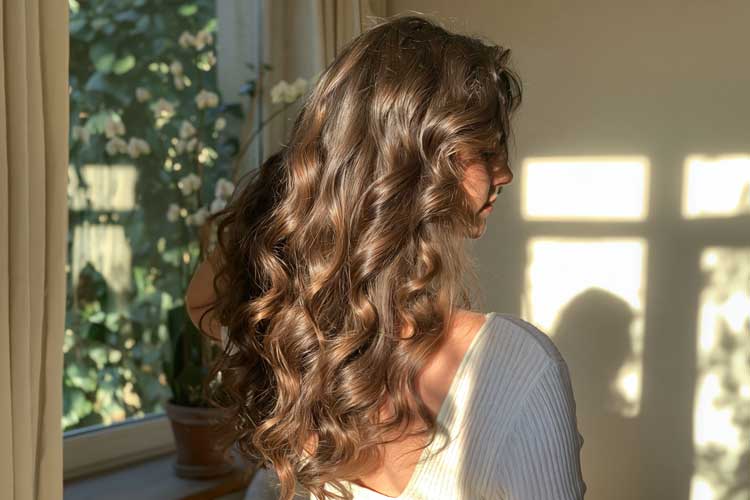
Most of the curl tutorials I saved last year were filmed on hair thicker than mine, with tools I didn’t own. When I copied them I got stiff, round curls that looked nothing like the photo. What fixed it was changing the tool. A clip on the curler changes how the curl sets, and the barrel width decides how tight it ends up.
Below, each look gets a curler type and a barrel size, plus the way I do it. My hair sits just past my shoulders. If yours is shorter, go one barrel size down.
Wand or tong: choose the tool before the barrel
A wand has no clip. You wrap the hair around it by hand, so the curl comes out softer and a bit messier. A tong clamps the hair and keeps the tension even for you, which makes it easier if you’ve never curled your own hair.
If you’re shopping in New Zealand, ghd’s range of hair curlers includes both kinds. Every one heats to 185°C, and there’s no dial. That suits rushed mornings, since there’s no setting to crank up. It’s less good for very fine or bleached hair, since you can’t lower it. Use a heat protectant every time.
Wands take practice. In my first week with one I touched the barrel with my thumb more than once, and a cheap heat-resistant glove stopped that. Tongs are quicker to learn. Their one bad habit is a dent at the ends if you clamp the very tips. Clamp about 2cm up instead and let the ends wind in as you roll.
Barrel size is simpler than it looks. Smaller barrels make tighter curls, and tighter curls last longer. Anything from 32mm up gives a loose curl you can brush into a wave.
1. Coquette: polished curls with a 26mm tong
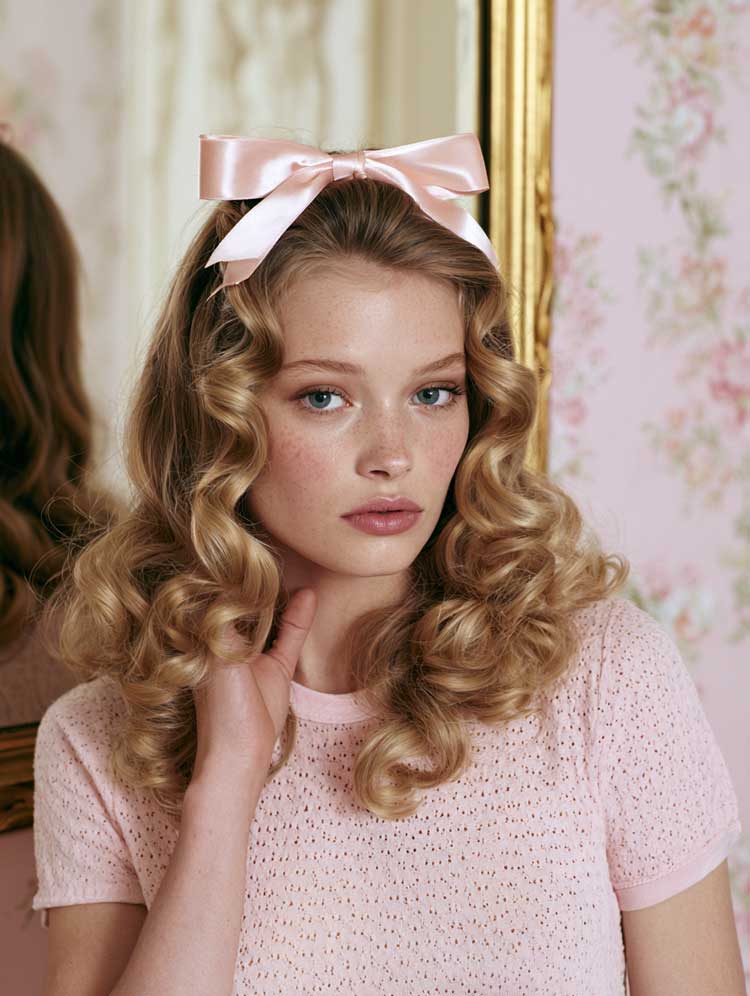
Coquette is the doll look: soft ringlets and a satin bow. It falls apart if the curls don’t match, and when I use a wand they never quite do. A tong holds every section at the same tension from start to finish. At 26mm the ringlets stay soft but still defined. ghd’s Classic Curl Tong is that size.
- 1. Work heat protectant through dry hair, then brush out the knots.
- 2. Clip the top half up. You start at the nape.
- 3. Take sections about 2cm wide. Smaller ones give tighter definition.
- 4. Clamp halfway down and roll up towards the root. Hold for 5–8 seconds, release, and catch the curl in your palm for a few seconds while it cools. Curl every section in the same direction so they sit together.
Don’t touch the curls until they’re cool. Then pull them apart gently with your fingers. A brush will turn them into frizz. Mist with hairspray and add the bow. I wear it half-up, tied at the crown.
2. Clean girl: textured waves with a conical wand
The aim is hair that looks like it air-dried well. A conical wand tapers from 28mm at the handle end down to 23mm at the tip, so each wave is wider near the root and tighter at the end. Naturally wavy hair falls the same way. Wrapping by hand means no two waves come out identical, and for this look that’s fine.
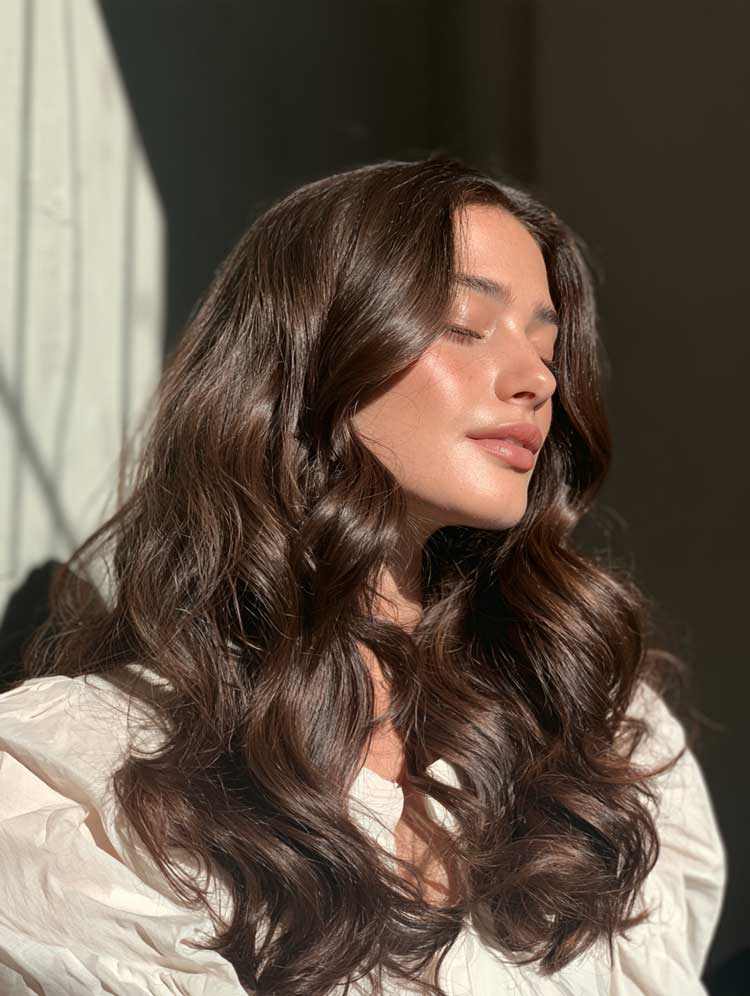
Use bigger sections, around 4 to 5cm. Point the wand down with the thick end at your root and lay the hair flat against the barrel like a ribbon, leaving the last 2–3cm out. Five seconds is enough. Slide the wand out, then curl the next section the other way. One goes away from your face, the next towards it. Alternating stops the waves clumping into one big curl, and the straight ends keep it looking slept-in.
Shake it out with your fingers once it’s cool. I skip hairspray here. A texture spray, or a drop of oil on the ends, lets the waves keep moving.
The back of my head is where this goes wrong. I do those sections first, before my arms get tired, and check them with a hand mirror. They still come out a little uneven. Nobody has ever noticed.
3. Soft glam: Hollywood volume with a 32mm barrel
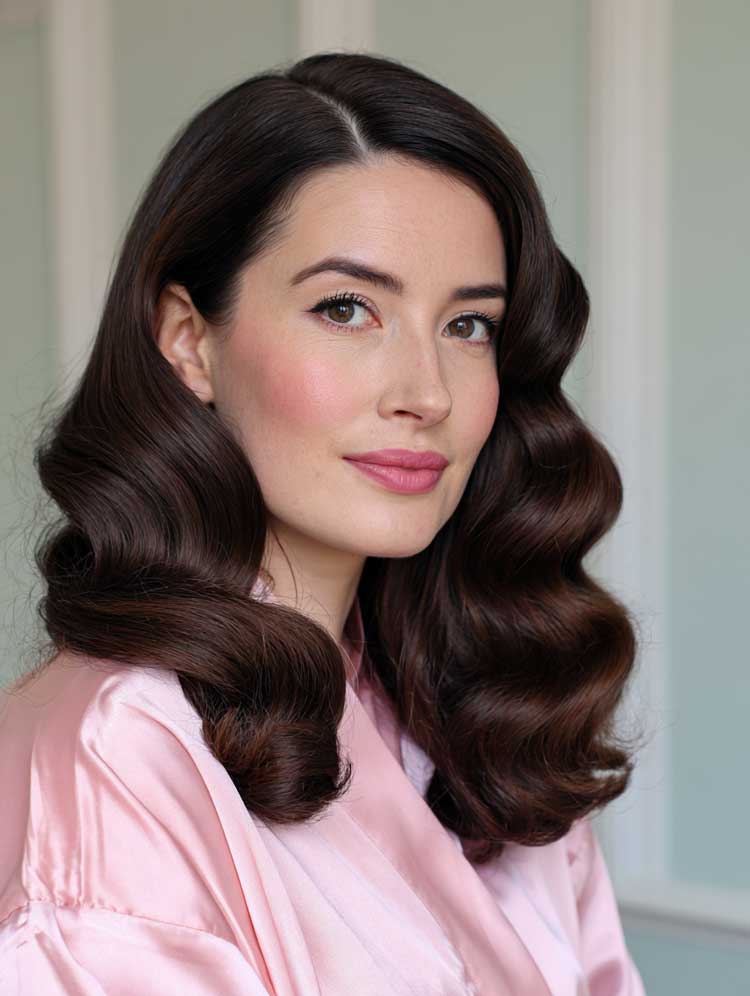
This is the big, brushed-out wave you see at weddings. I use a tong for it too. A wand makes curls of slightly different sizes, and once you brush through, those differences show up as patchy waves.
- 1. Make a deep side part before you start. Moving it later breaks up the waves.
- 2. Curl 4cm sections, all away from your face.
- 3. As each curl comes off the barrel, roll it back into a loop and pin it flat against your head.
- 4. Leave the pins in for about ten minutes. That’s when I do my makeup.
Take the pins out and brush through with a wide paddle brush or a boar bristle brush until the separate curls join into one wave. Spray, then tuck one side behind your ear.
Fine hair struggles at 32mm. The curls can drop inside an hour. Pinning slows that down, and so does curling second-day hair.
Keeping your curls in place
Auckland in January undoes most curls by lunchtime. Freshly washed hair is slippery and lets go of the shape fast, so I curl the day after washing. I also leave every curl alone until it’s cool, because the shape sets as the hair cools down.
On very humid days I pick a barrel one size smaller than the look calls for. The curls loosen through the morning and by mid-afternoon they’re about where I wanted them.
If you’re only buying one curler, I’d get a 26mm tong. It does coquette, and brushed out it gives you a softer version of glam. Get the conical wand instead if you wear your hair wavy most days.
– This post is part of a paid collaboration


